This is the first post in a series on getting coding agents to work for me asynchronously. The article walks through installing Debian on an old Mac, getting Claude Code and Codex signed in over XRDP, and the three use cases I run on Ferris today.
Building Ferris#
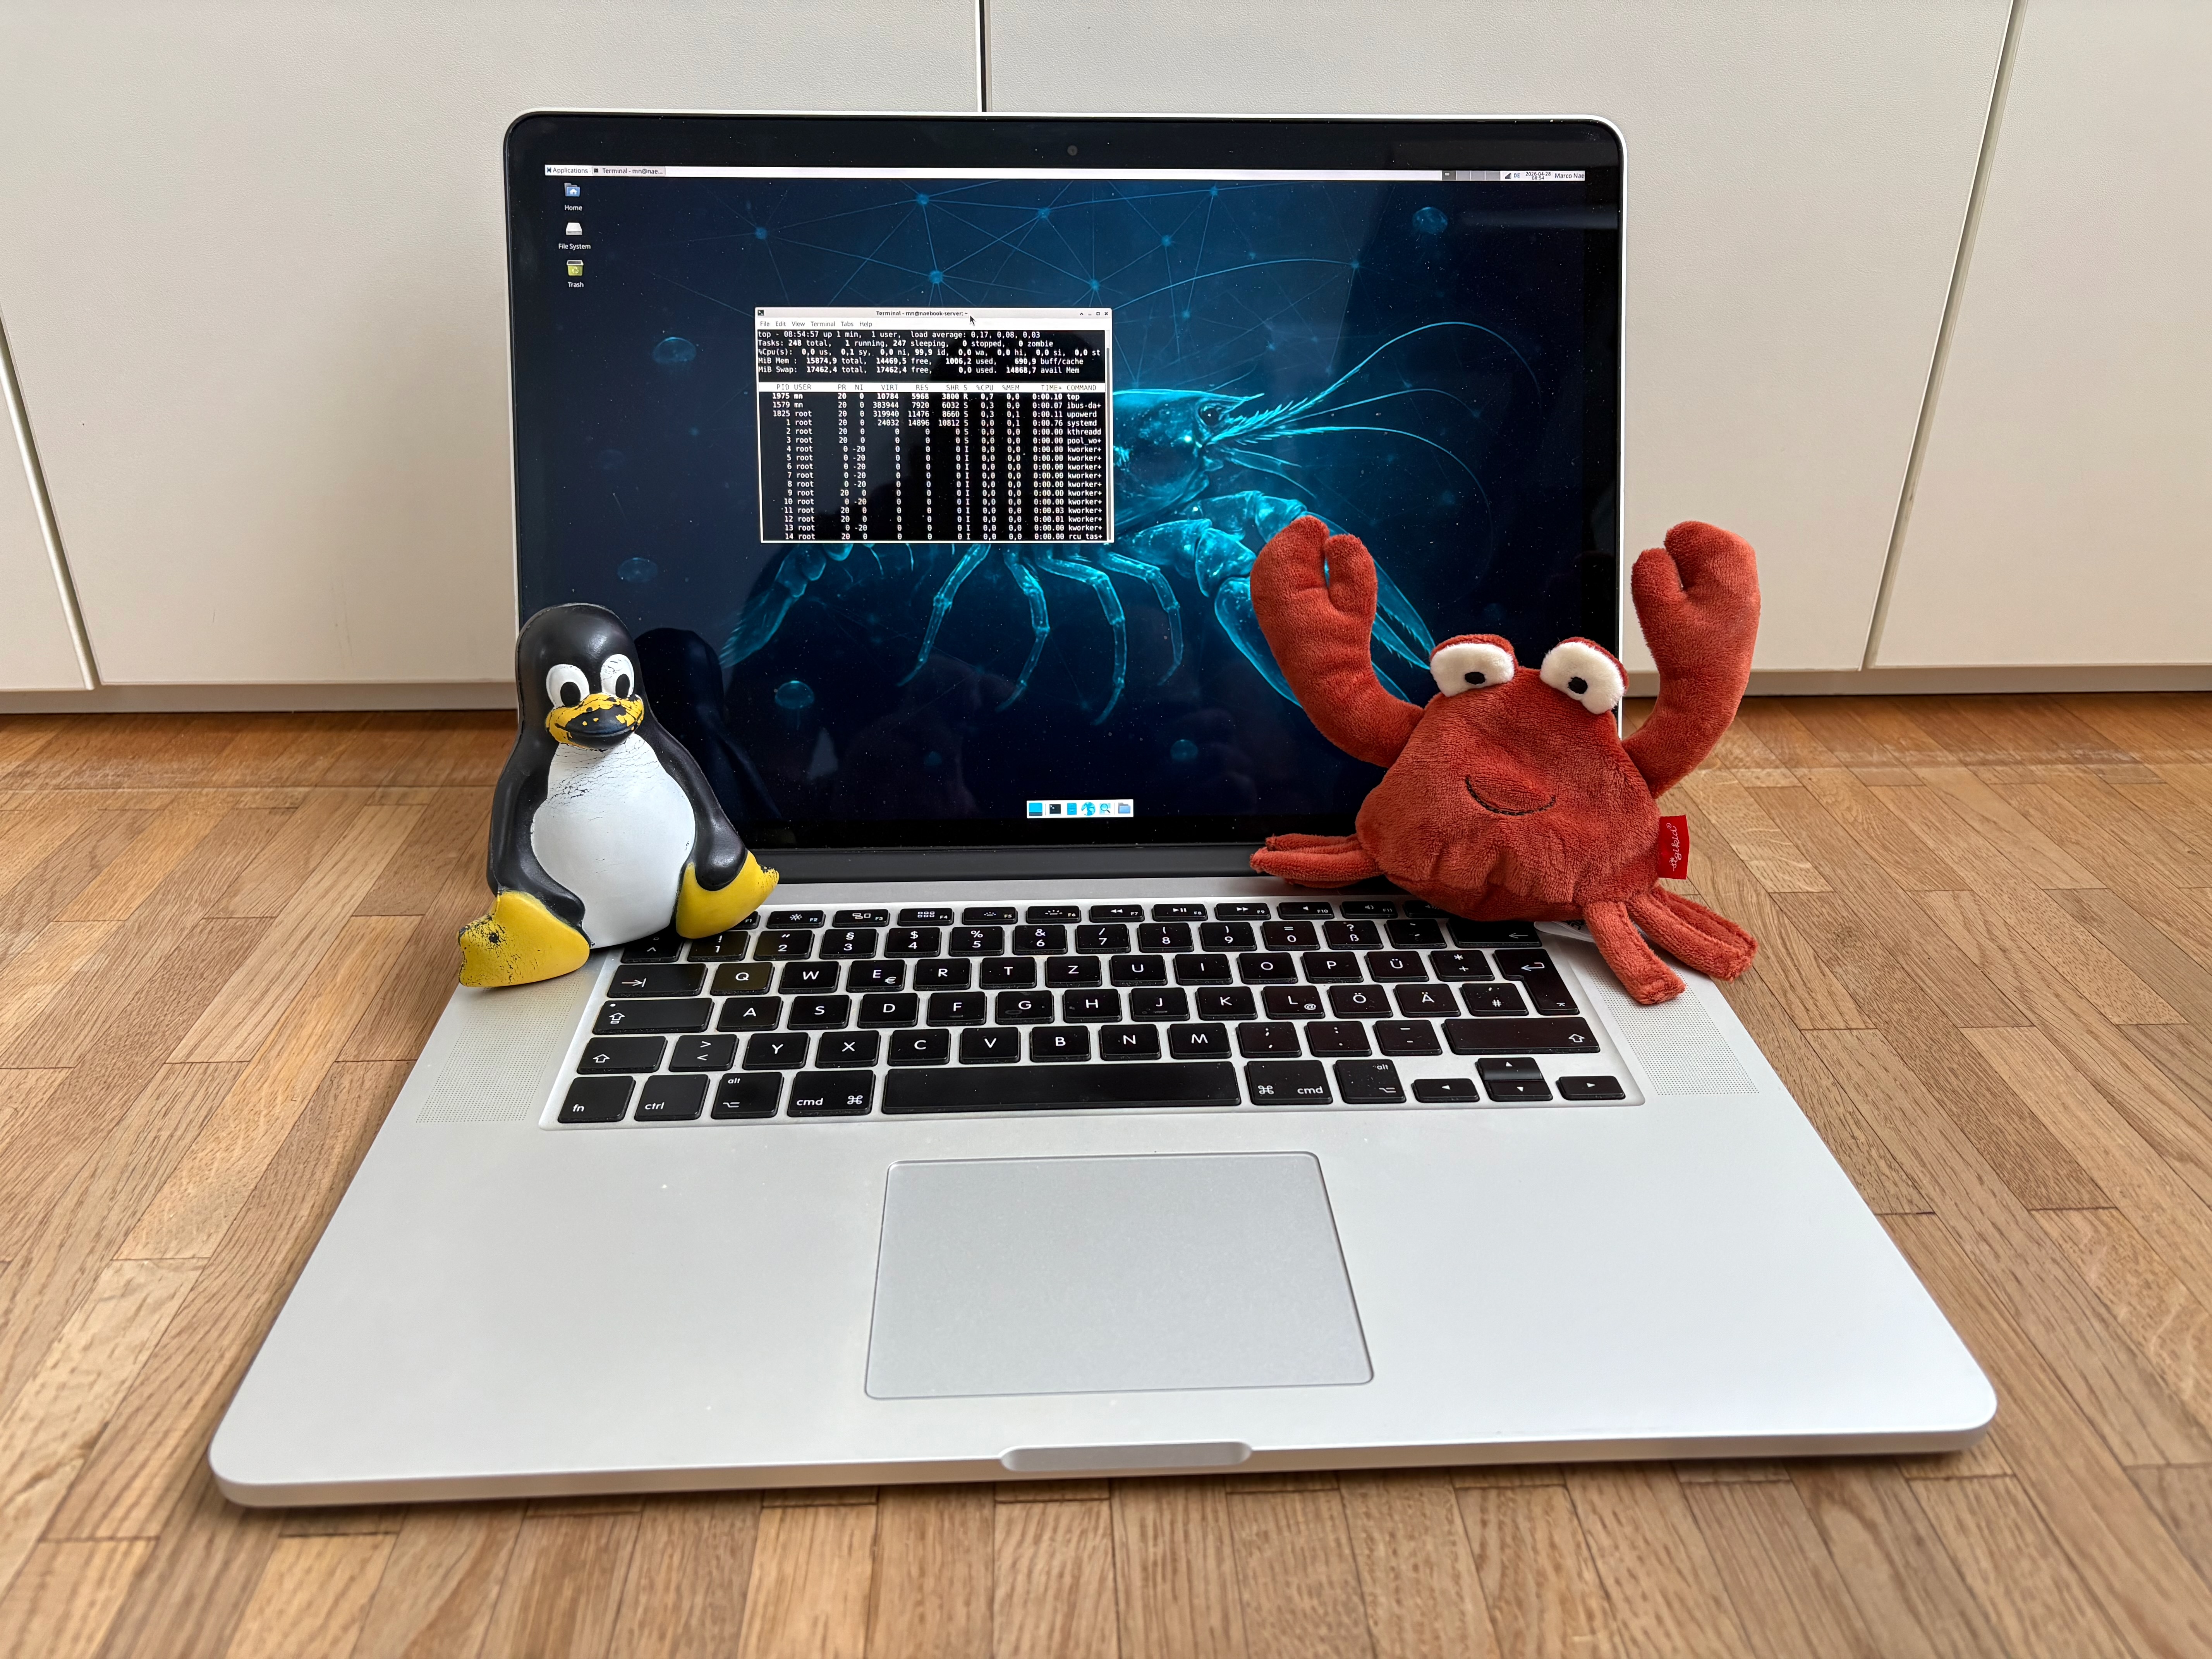
Ferris is my old 15“ Retina MacBook Pro. It was my favorite laptop and partner in crime for over five years until we parted ways for a newer MacBook Pro. Since then it has been sitting in my drawer without a purpose. The specs are (roughly): Intel Core i7 at 2.50 GHz, 16 GB RAM, NVidia graphics with 2 GB NVRAM.
When I read about all the people running OpenClaw or other agents on tiny VMs in the cloud, I thought: “Ferris still has ample power for Claude Code or Codex”. I run LLMs in the cloud via Anthropic or OpenAI, so the heavy thinking happens in the cloud anyway. Ferris only has to handle file operations and, of course, compiling the software it generates.
I started by installing Debian 13 “trixie”. The process was straightforward:
- Download a live install image. I went with Live Xfce
amd64. - Still on macOS, flash an old USB stick using balenaEtcher.
- Reboot the Mac and hold
Option (⌥)to select the Debian Live Installer. - Install with defaults.
Once Linux is installed, you want it to stop sleeping even when the display lid is closed. Set the following in /etc/systemd/logind.conf:
[Login]
HandleLidSwitch=ignore
HandleLidSwitchExternalPower=ignore
HandleLidSwitchDocked=ignore
Installing Debian is generic, disabling lid sleep was pretty straightforward. Next step on my journey: how to sign in to my Claude and OpenAI subscriptions via a browser on a remote machine?
About tokens and window managers#
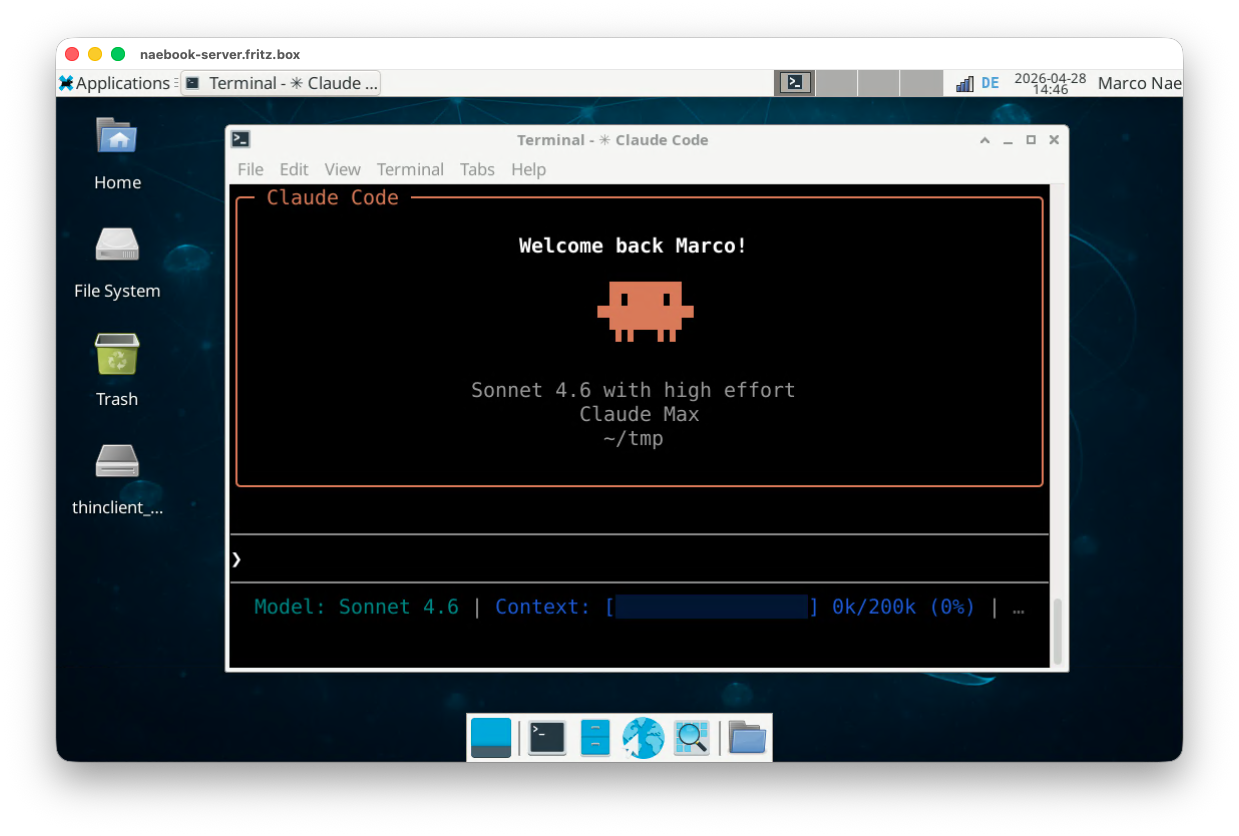
My plan was to keep using my Claude 5x and ChatGPT Plus subscriptions on Ferris. Raw API tokens add up fast; the subscriptions cap that cost at a flat monthly rate. To use either of them on Ferris, I needed a way to log in via a browser. That ruled out a headless setup and brought me to XFCE, a lightweight window manager for Linux. The Debian Live XFCE image ships with Firefox already installed, which covers everything I need.
The next question was: how to connect to XFCE remotely? After discussing this with Claude, my goal was to connect to XFCE on Ferris via RDP. The server for RDP on Linux is called xrdp and I summarized a tutorial on how to configure it in the TIL Configure XRDP and XFCE on Debian 13.
On my main Mac I use Windows App by Microsoft to connect to Ferris’ XFCE. Windows App is Microsoft’s RDP client; on macOS it replaced the older Microsoft Remote Desktop app and connects to any RDP server.
What Ferris actually does for me#
Three use cases keep Ferris busy: coding agent runs in YOLO mode, remote control from anywhere, and conversations with my second brain from a phone.
Building software in YOLO mode#
My primary use case for Ferris is building software with Claude in YOLO mode. YOLO mode (Claude Code’s --dangerously-skip-permissions flag) means the coding agent does not stop and ask for permission before running tools. This is the unlock: I prompt Ferris with a set of instructions and the tasks are usually done by the time I check back.
The flag turns off the per-tool permission prompts so the agent can run unattended:
> claude --dangerously-skip-permissions
> # Or as alias
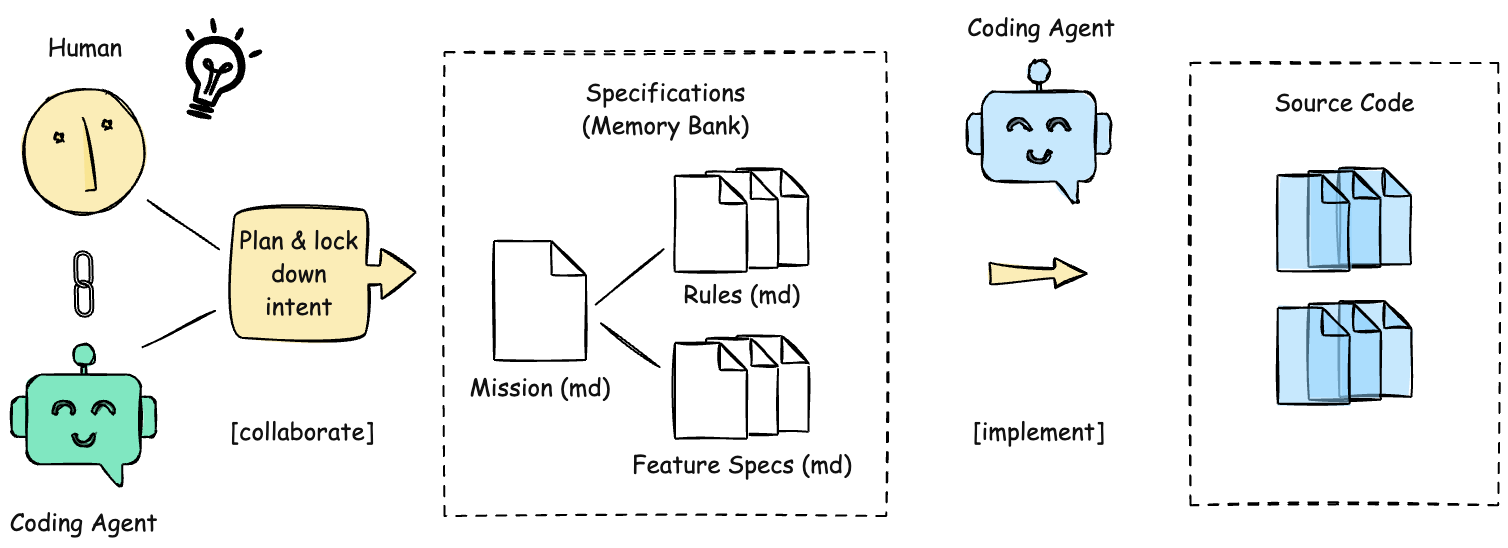
> alias claude-yolo='claude --dangerously-skip-permissions'My routine workflow is spec-driven development with speq-skill; I have a series on the topic here on the blog. YOLO mode took this to the next level. With permission prompts off, Ferris can work through an entire plan while I am away from the computer.
Remote-controlling sessions#
Anthropic’s Remote Control feature lets you continue any Claude Code session from the web interface, the Claude app on your phone, or the desktop app. The docs are at Continue local sessions from any device.
I run /remote-control some-name inside Claude Code to enable remote access. The next puzzle piece was keeping the terminal session alive that Claude Code was invoked in. tmux solves that (see also my TIL tmux: terminal multiplexer):
# SSH into Ferris
> ssh marco@ferris.local

# Start a new tmux session
marco@ferris> tmux new

# Start Claude in YOLO mode
tmux[0]> claude-yolo

# Trigger Remote Control within the session
claude> /remote-control my-session
Chatting with my second brain on the phone#
For coding I prefer an actual keyboard and a bigger screen. But there is one use case where the phone wins: chatting with my second brain from anywhere.
I took Karpathy’s LLM Wiki gist and built myself an LLM wiki I call second brain. It is a collection of Markdown files about my content and posts, both for this blog and for LinkedIn. Every time I have a question, a thought, or an idea for an article or a post, I use my phone and Claude to iterate on it via a remote session running on Ferris.
Learnings and outlook#
My biggest learning from this experiment is the freedom and productivity I gain once the agent runs on a remote machine and no longer stops for permission approvals. For me this is a big step towards a setup in which agents work autonomously on my behalf. It helps a lot to have the agent constrained to a designated host that is replaceable in case the agent destroys it. On that note, it also raises a lot of questions about security and guardrails. For example: what do I do with my GitHub credentials, and how can I limit the agents so that they cannot do any harm?
As a next step I want to explore “always on” agents in more detail. I want to give OpenClaw a try, and also check out alternatives such as NanoClaw.
]]>